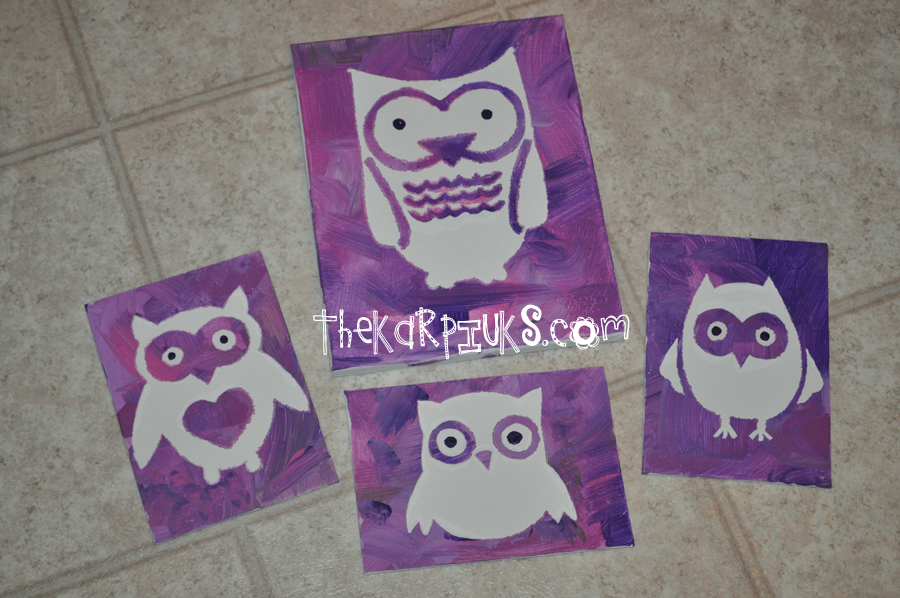
 Not only do stenciled paintings on canvas look awesome, they’re the PERFECT project for toddlers. I could let Liam go wild with paint and still end up with a specific image, too. The finished result was a clean image in white (since we used white canvases) and Liam’s masterful painting all around it.
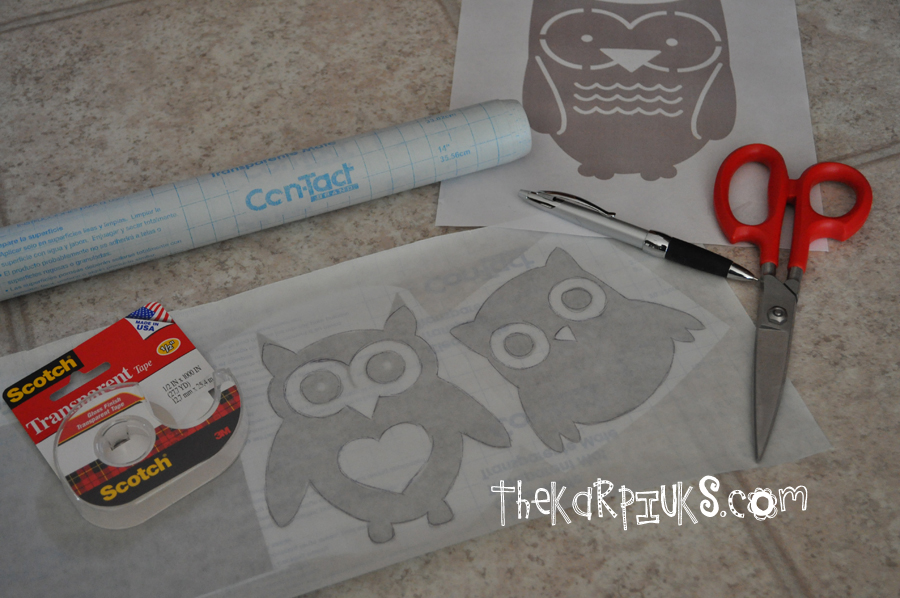
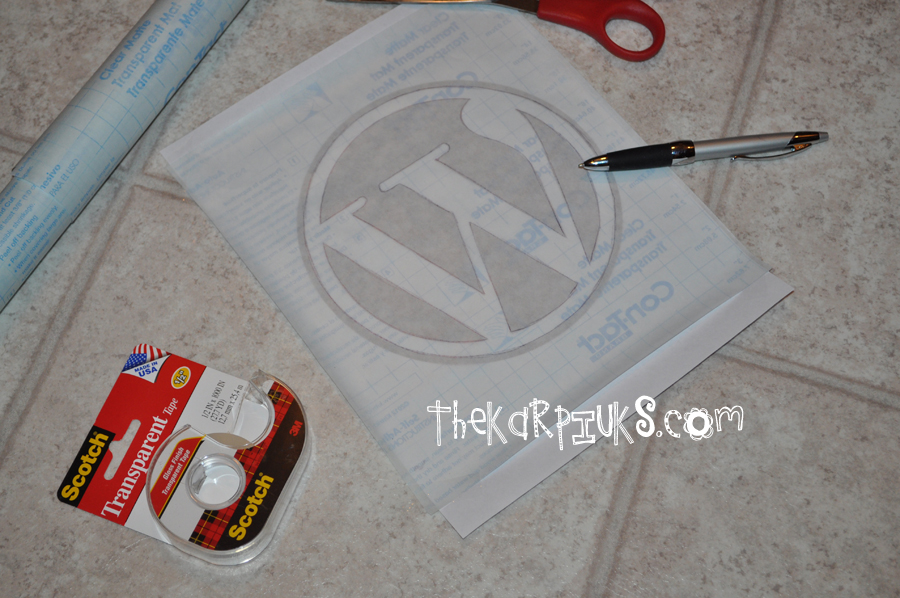
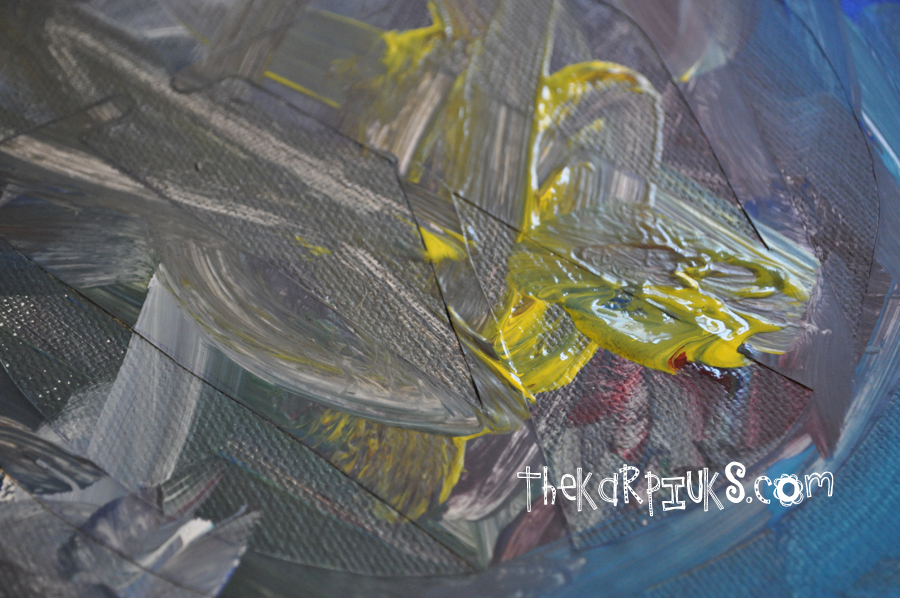
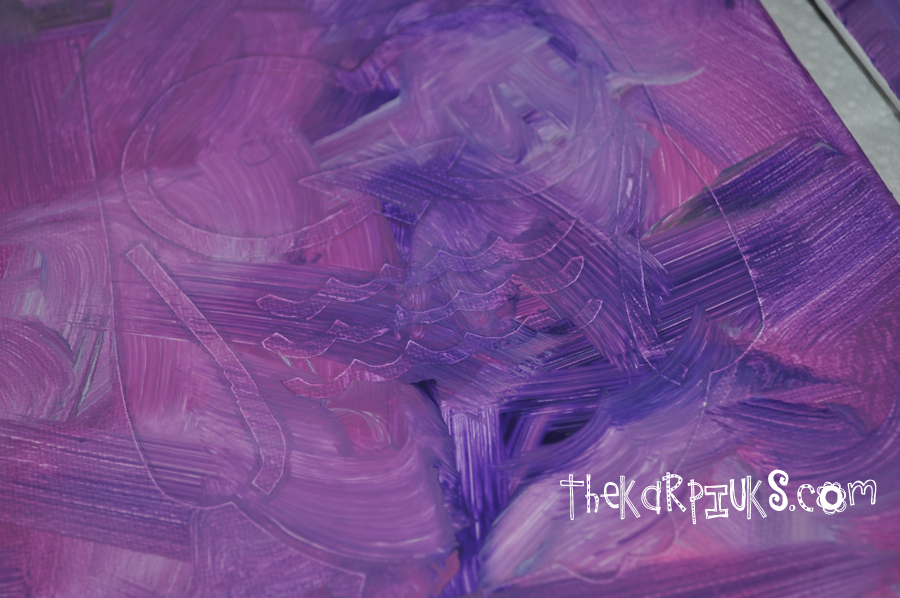
We did two projects using the stencil method: a WordPress logo canvas as a gift for Lucas since he’s a WordPress developer, and then several different owls in pinks and purples to hang up in baby Lila’s room. Here’s how we did it!
Materials
- Canvases – whatever size you prefer. We used 8×10″ and 5×7″ The 8×10″ were stretched canvases, while the 5×7″ were canvas panels. We definitely had an easier go with the solid panels, but more on that later
- Clear contact paper
- Scissors
- Printed designs you want to use for stencils – we just did a Google image search for “owl stencil” and “WordPress logo” and printed them out onto paper at the size we wanted to fit the canvases
- Paint – we used cheap craft acrylic
- Ballpoint pen, scotch tape
Directions
1A. Put your toddler down for a nap. While they’re sleeping (or not sleeping, as our toddler prefers) you can get a bunch of canvases prepped with stencils so that they have a fun project to wake up to later.
1. Tape your printed stencils down to a flat surface. We have laminate floors in the kitchen which worked perfectly for this. Unroll the clear contact paper and tape it down on top of your stencil, paper side up. This is where using clear contact paper is important, because you need to see your stencil showing through. Grab a ballpoint pen and trace the stencil onto the contact paper’s paper backing.
 Â Â
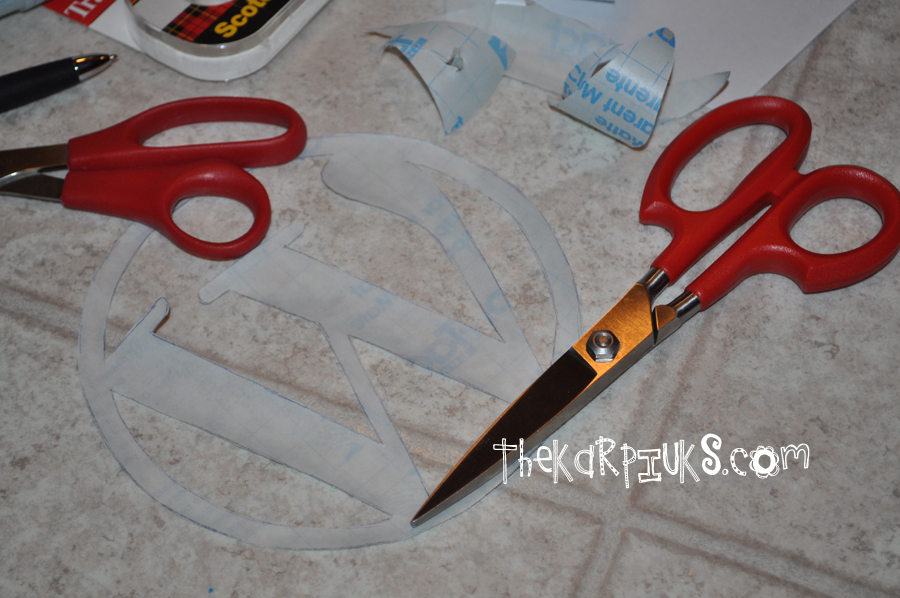
2. Carefully cut out your stencil from the contact paper. I found it helpful to lay it flat with something heavy on top of it for a little bit while I cut out the other stencils I was making, because the contact paper curled.
3. Remove the paper backing from your now sticky-backed stencil. Position it on your blank canvas where you want it and press. This is where the solid canvas panels worked better than the stretched canvases; it was easy to apply a lot of pressure to the flat panels to really ensure the stencil stuck well. With the stretched canvases, I had to turn them over on a flat surface and run something heavy around on the inside of the canvas within the frame to help the stencils stick a little better. (But the nature of the flimsy stretched canvas never gave me as good of a seal on the stencil as the flat canvas panels.)

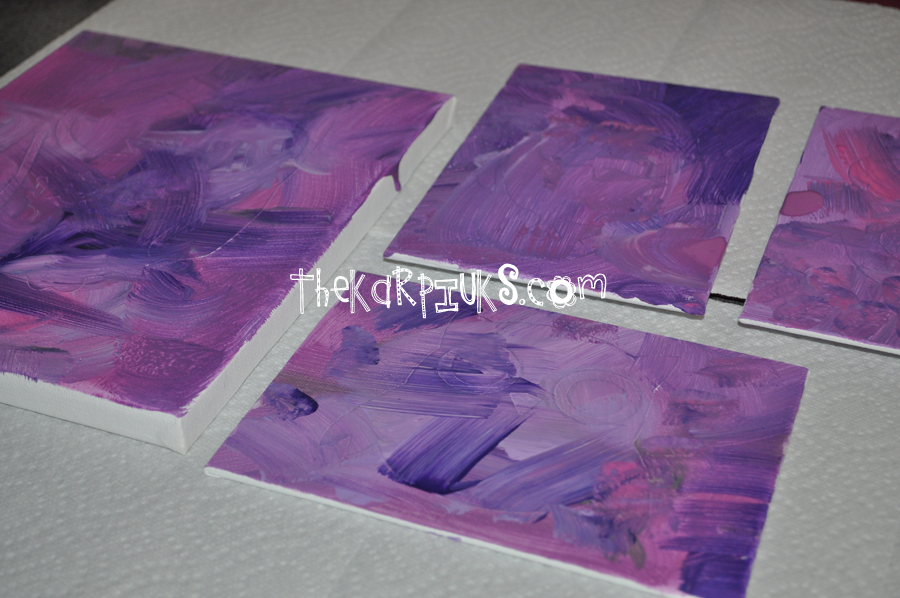
4. Release the Kraken. Otherwise known as let your toddler come out of his room, since he didn’t nap anyway. We laid out a large plastic drop cloth in the kitchen and filled a compartmentalized paper plate (which make the perfect paint palettes for kids, by the way) with a variety of non-toxic paint. I recommend a cheap, washable and non-toxic craft acrylic paint since you and I both know he’ll get more paint on himself than the canvases. Watercolors are nice, but for this project you really need a bolder, thicker paint so that the stenciled areas really stand out when finished. Strip the kiddo down to his diaper, hand him a paintbrush or three, and let him go wild with the paint. For the WordPress project I gave Liam a paper plate with a variety of colors, but since we’re doing purples in Lila’s room, I had a second paper plate to use on her canvases that only offered several different shades of pinks and purples.
 Â Â
(Lucas started a bubble bath for the kiddo while we were painting. I highly recommend this.)
The only real instruction I gave Liam was to paint the entire canvas. You want to completely cover the stencil and all white areas of the canvas that are visible with a generous amount of paint. I “helped” in a few areas to ensure there were no white spaces, especially right around the edges of the stencil. Once again, we had an easier time of this on the flat canvas panels vs. the stretched canvases, as the act of applying pressure in one area on the stretched canvas often meant the edge of the stencil would come up a bit in another area because the surface was uneven. Just do the best you can.
 Â Â
5. Allow the paint to dry. A perk of cheap craft acrylic is that this only took around 15 minutes, even with as thick as Liam clumped on paint in some areas. This is the perfect time to give your paint-covered toddler said bubble bath. Or let your husband bathe the kiddo while you set the canvases aside to dry, throw away the paper plate palettes, (yet another reason paper plates make great paint palettes) and fold up the drop cloth for next time. Have I mentioned how awesome my husband is?
6. Once the paint is completely dry, gently pull up the stencil and discard it. You should be left with a fabulous contrast: the stark white stencil against random paint strokes. I will admit that there was some “bleeding” of paint here and there within the lines once the stencils came up, especially on the stretched canvas paintings, so I just grabbed some white acrylic craft paint and a small brush to touch up those areas and make the lines look clean again. I only had to do touch-ups with white in a few places, but it really helped.
 Â Â
Alternatives
You could probably paint the canvas a flat color first before applying the stencil, if you want your stenciled area something other than white. But I’m not sure if that would help the stencil stick better or make it worse, and/or if the flat color will come up with the stencil later, so try it first! Another idea is to make a reverse stencil; imagine the stenciled areas being the erratic paint strokes and the background being plain white instead. This would look really neat, too! (But perhaps be a bit more of a pain to cut out.)
I really liked the combination of clean lines and crazy, carefree toddler paint. We will definitely be doing more of this style of art in the future! Lucas really enjoyed his WordPress logo art, and I really enjoyed that Liam and I collaborated on the gift for him. Lila’s room looks beautiful with our collaborative owl art hanging on the walls, too. I feel like those will be special for her later on.
Have fun!